Fabric protection checklist planning helps you waterproof fabric with fewer mistakes and better results. DIY fabric care can feel simple at first, but small steps matter. Skipping cleaning, ignoring test patches, applying too much product, or rushing drying time can affect the final finish. A checklist keeps the process clear from start to finish. It helps you choose the right fabric, prepare the surface, apply treatment evenly, and check protection afterward. This is especially useful for cushions, bags, table linens, outdoor pieces, and craft projects. A strong DIY waterproofing guide makes the work easier to repeat.
Fabric Protection Checklist steps help you avoid treating fabric blindly. Each material reacts differently, and each item has a different purpose. A practical fabric care planner helps you decide whether the project is worth treating. Ask what the fabric is, where it will be used, and how often it gets wet. The Ultimate DIY Fabric Waterproofing Checklist – How to Waterproof Fabric at Home helps organize those decisions. A checklist turns a vague project into a controlled process.
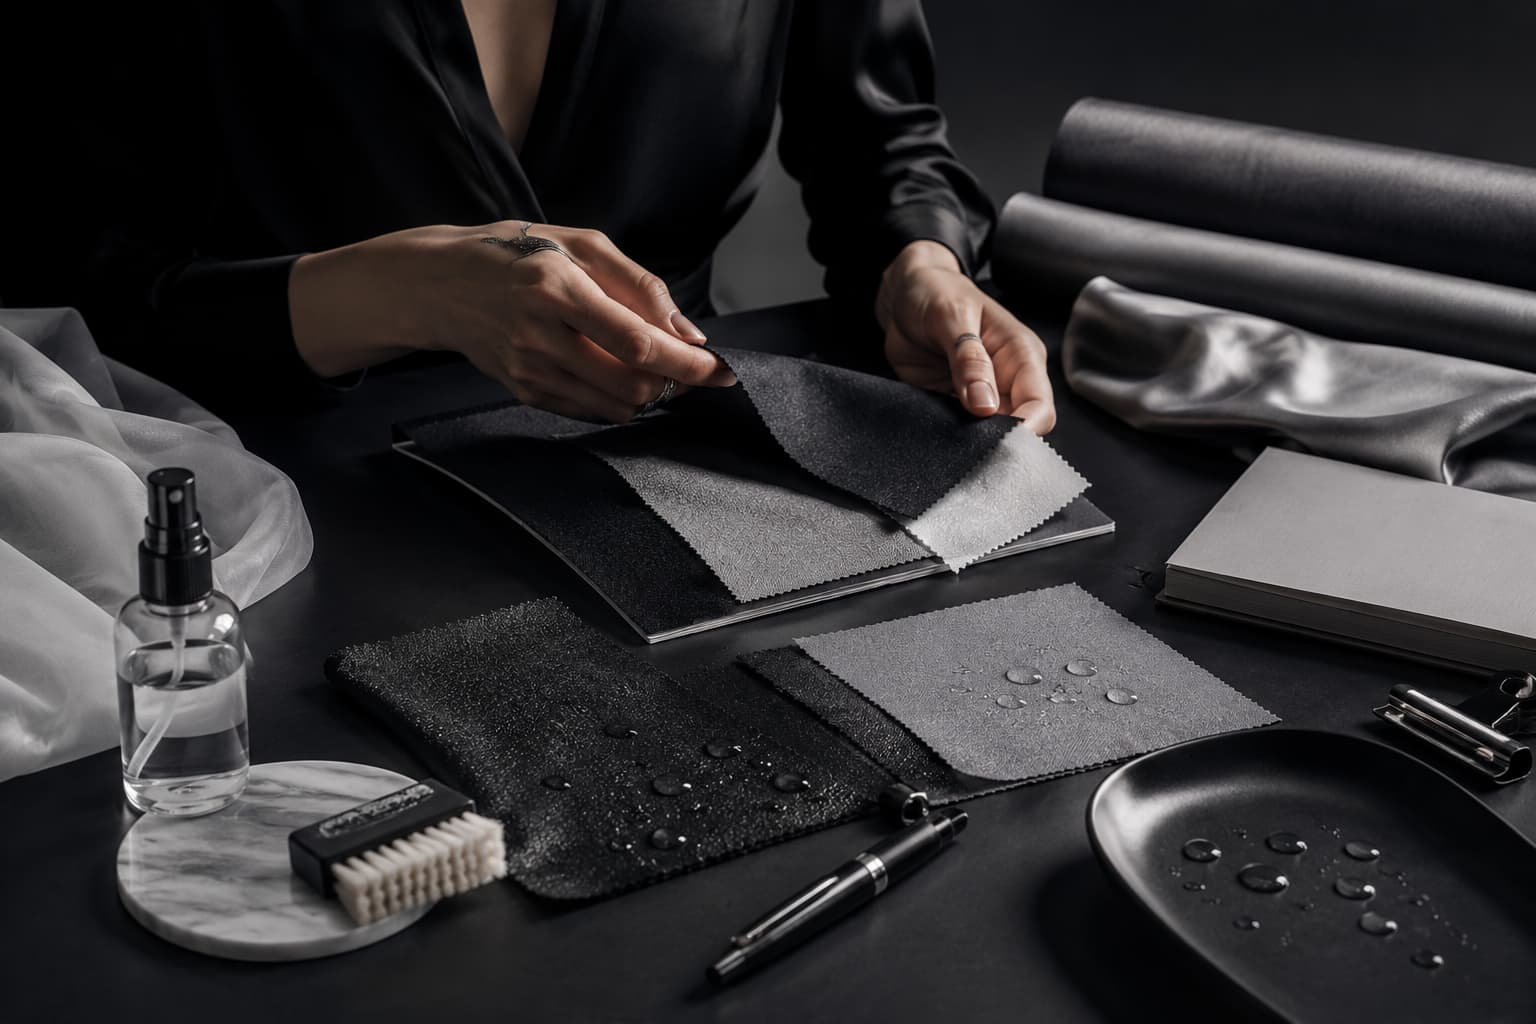
Fabric Protection Checklist work should begin with testing. Apply treatment to a hidden area and wait until it dries fully. A helpful waterproofing test patch checks color change, texture, stiffness, and residue. This small step prevents larger mistakes. If the fabric changes too much, try another method or skip waterproofing. Testing also helps you understand how much product the fabric needs. Some materials absorb quickly. Others need lighter handling. Good testing gives you information before the full project begins.
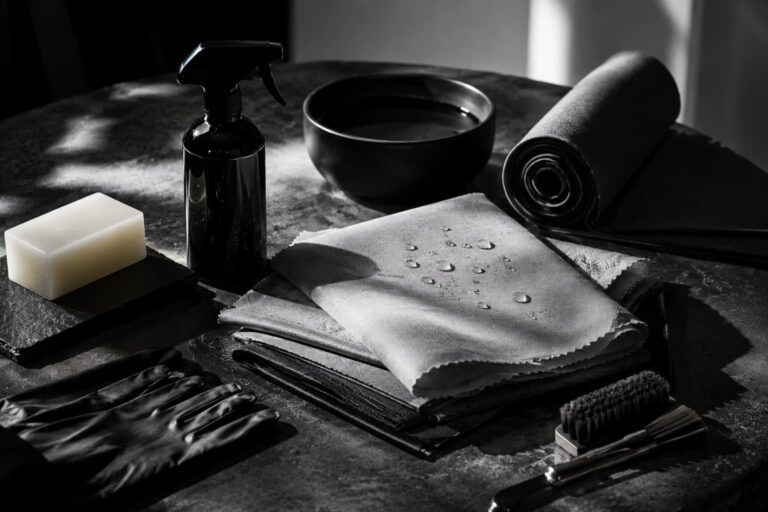
Preparation affects everything that happens later. Clean the fabric according to its care instructions, remove dust or lint, and make sure it is completely dry. A reliable pre-treatment fabric routine helps the waterproofing layer apply more evenly. Avoid treating damp or dirty fabric. Do not fold fabric while applying treatment. Work on a protected surface with enough room. Preparation makes the application smoother and reduces stress. It also helps the final result look cleaner.
Fabric Protection Checklist application steps should focus on control. Use light layers, keep movement steady, and follow drying instructions carefully. A good fabric waterproofing process avoids heavy coats that can create marks or stiffness. Let each layer dry as directed. Keep pets, dust, and fabric folds away while curing. If applying spray, maintain consistent distance. If applying wax, use careful pressure and even coverage. Application is where patience becomes visible in the finished piece.
Fabric Protection Checklist steps should continue after drying. Test water resistance with a small drop in a discreet area. Check whether water beads or absorbs. A practical finished fabric review helps you decide whether another layer is needed. Also check how the fabric feels. Protection should not ruin comfort or usability. If the item passes the test, let it cure fully before regular use. If results are uneven, adjust carefully rather than overapplying. Review protects the final quality.
Once you complete one project, save notes about the method, drying time, and result. This turns each DIY attempt into useful experience. For basic home steps, read the Waterproof Fabric at Home article. For project methods, explore the DIY Fabric Waterproofing article. For outdoor use, continue with the Outdoor Fabric Waterproofing article. The Ultimate DIY Fabric Waterproofing Checklist – How to Waterproof Fabric at Home helps make fabric protection more organized, safer, and easier to repeat.


Leave a comment
You must be logged in to post a comment.