DIY fabric waterproofing can help protect useful items from moisture, spills, and everyday wear. It is especially helpful for projects that need extra durability, such as tote bags, cushions, outdoor covers, aprons, and craft pieces. The process should be careful, not rushed. Good results depend on fabric type, preparation, product choice, application method, and drying time. Waterproofing is not only about adding a protective layer. It is about preserving the item while making it more useful. A clear waterproof fabric guide helps you work with more confidence.
DIY Fabric Waterproofing needs planning because fabric can react in unexpected ways. Some materials absorb treatment quickly. Others repel it unevenly. A strong fabric treatment checklist helps you decide whether the item is a good candidate. Consider fabric content, color, texture, and intended use. Test a hidden spot before treating the full piece. The Ultimate DIY Fabric Waterproofing Checklist – How to Waterproof Fabric at Home makes these early decisions easier to organize. Planning prevents damage and improves the chance of a smooth finish.
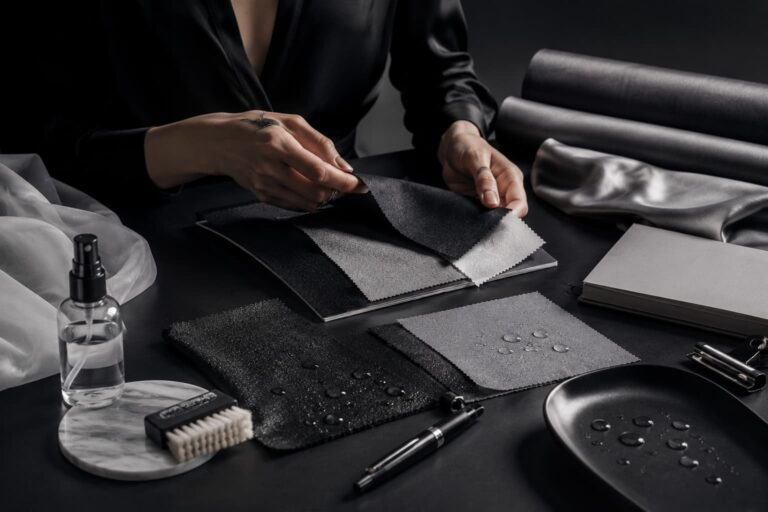
DIY Fabric Waterproofing should always start with a small test. Apply the method to a hidden area and let it dry completely. A helpful fabric test patch method checks color, stiffness, residue, and water resistance before full application. This step matters because wet treatment can look different after drying. It also helps you decide whether one layer is enough. If the test changes the fabric too much, choose another method or avoid treating that item. Testing saves time, money, and frustration.
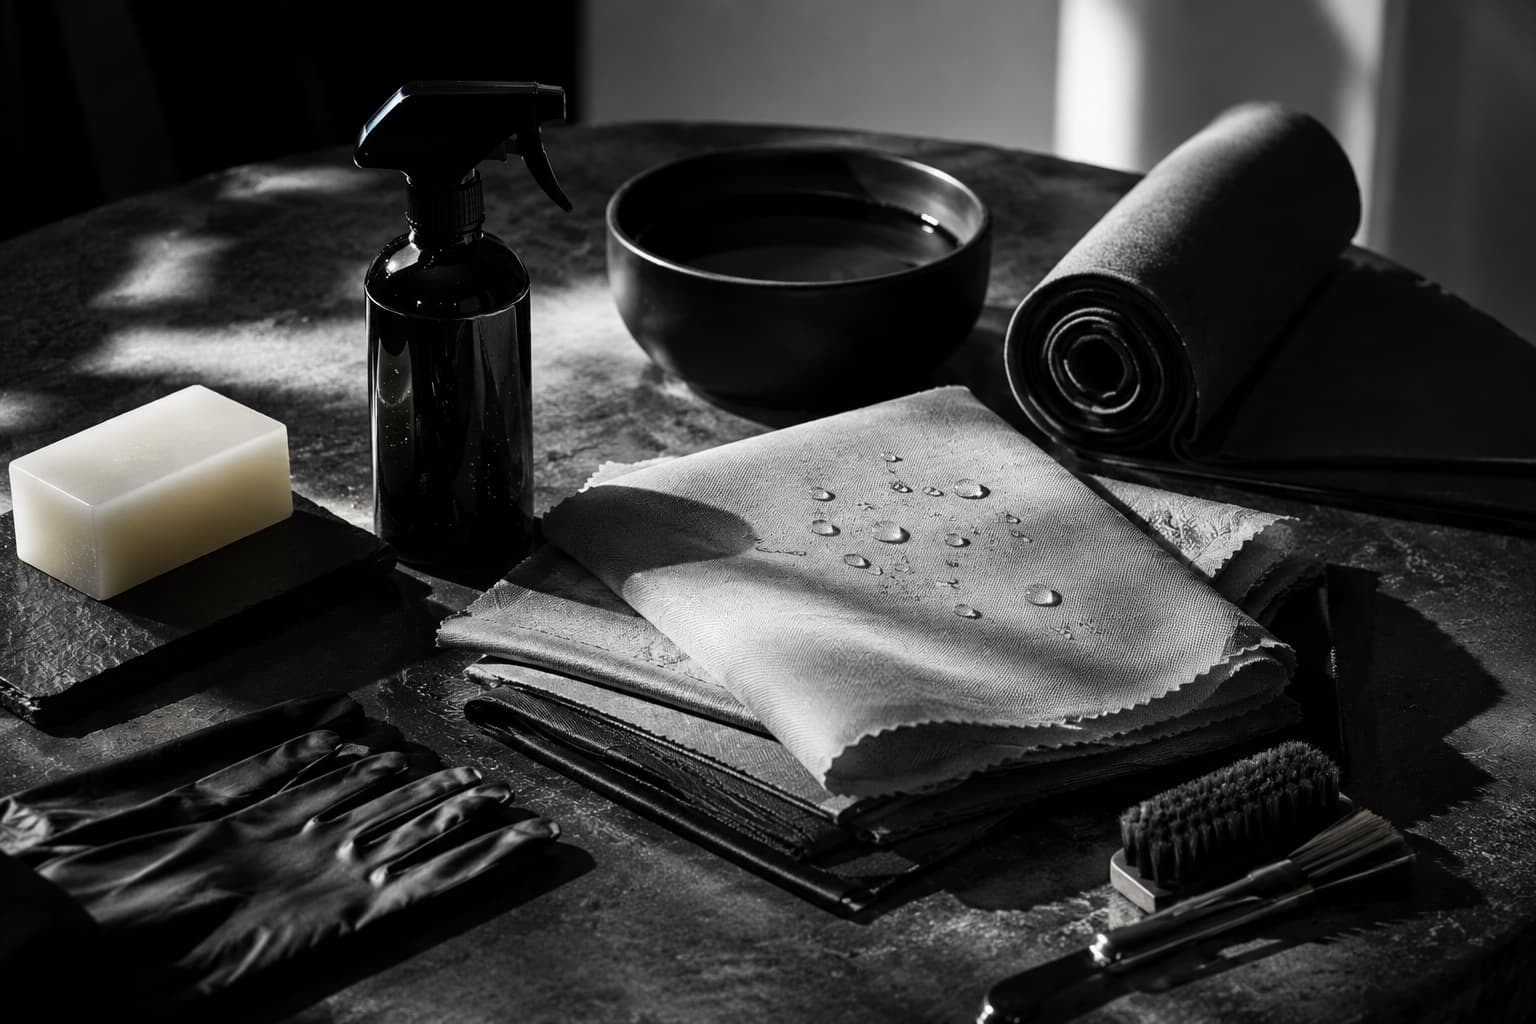
A clean workspace supports better results. Use a flat surface, protect surrounding areas, and make sure ventilation is appropriate. A practical DIY textile project setup helps you avoid overspray, dust, and uneven drying. Keep gloves, cloths, hangers, and drying space ready before application begins. Preparation makes the process calmer. It also reduces the temptation to rush while fabric is wet. Good waterproofing depends on control. A prepared workspace gives you that control.
DIY Fabric Waterproofing should match the item’s purpose. Outdoor cushions need stronger resistance than decorative fabric. A tote bag needs durability without excessive stiffness. A tablecloth may need spill resistance but still should drape nicely. A smart fabric care strategy begins with the question of use. Where will the item live? How often will it get wet? Will it be washed? Will people touch it often? These questions guide product choice and application intensity. Better matching creates better results.
DIY Fabric Waterproofing can fail when too much product is applied too quickly. Heavy layers may leave marks, stiffness, or uneven finish. A useful waterproofing mistake guide reminds you to use light layers, proper distance, and full drying time. Avoid treating dirty fabric. Avoid skipping test patches. Avoid folding treated pieces before they cure. These mistakes are easy to prevent with a checklist. The best results usually come from patience, not intensity.
Waterproofing should become part of a broader care routine. Clean items first, treat carefully, test performance, and refresh protection when needed. For home application basics, read the Waterproof Fabric at Home article. For outdoor-focused projects, continue with the Outdoor Fabric Waterproofing article. For a step-by-step checklist, explore the Fabric Protection Checklist article. The Ultimate DIY Fabric Waterproofing Checklist – How to Waterproof Fabric at Home helps you protect fabric projects with more confidence and less guesswork.


Leave a comment
You must be logged in to post a comment.